
Before #1
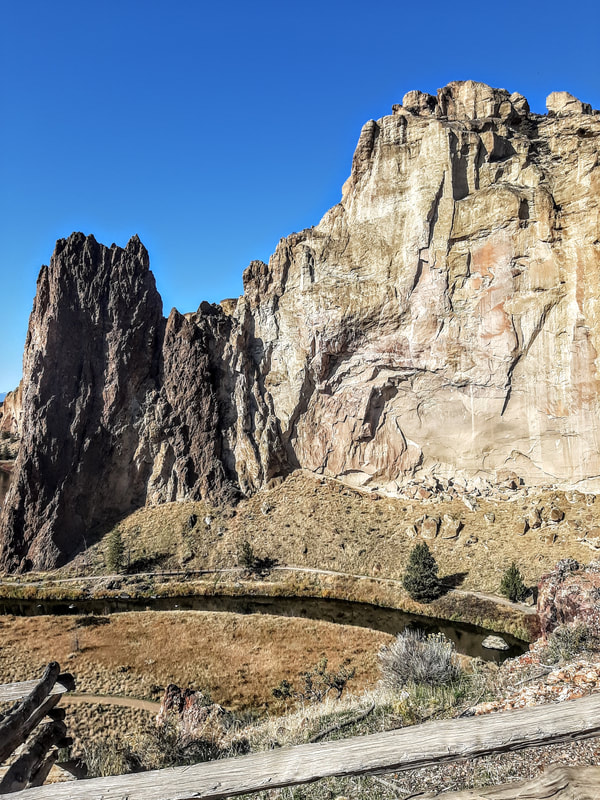
After #1
Step one. Boost contrast
Step two. Darken and saturate the blue tones
Step three. Heighten the shadows in the background
Step four. Add texture and sharpen the fore-ground
Step five. Add details like bushes and plants to the field on the near side of the river
Step six. Darken the river and bring out the reflection of the trees

Before #2

After #2
Step one. Change to a B&W setting
Step two. Lower the exposure
Step three. Heighten shadows and darken black point
Step four. Lower thhe highlights and soften the whites
Step five. Sharpen the clothing
Step six. Slightly blur the background
Step seven. Delete distracting rocks from inside the cave
Step two. Lower the exposure
Step three. Heighten shadows and darken black point
Step four. Lower thhe highlights and soften the whites
Step five. Sharpen the clothing
Step six. Slightly blur the background
Step seven. Delete distracting rocks from inside the cave

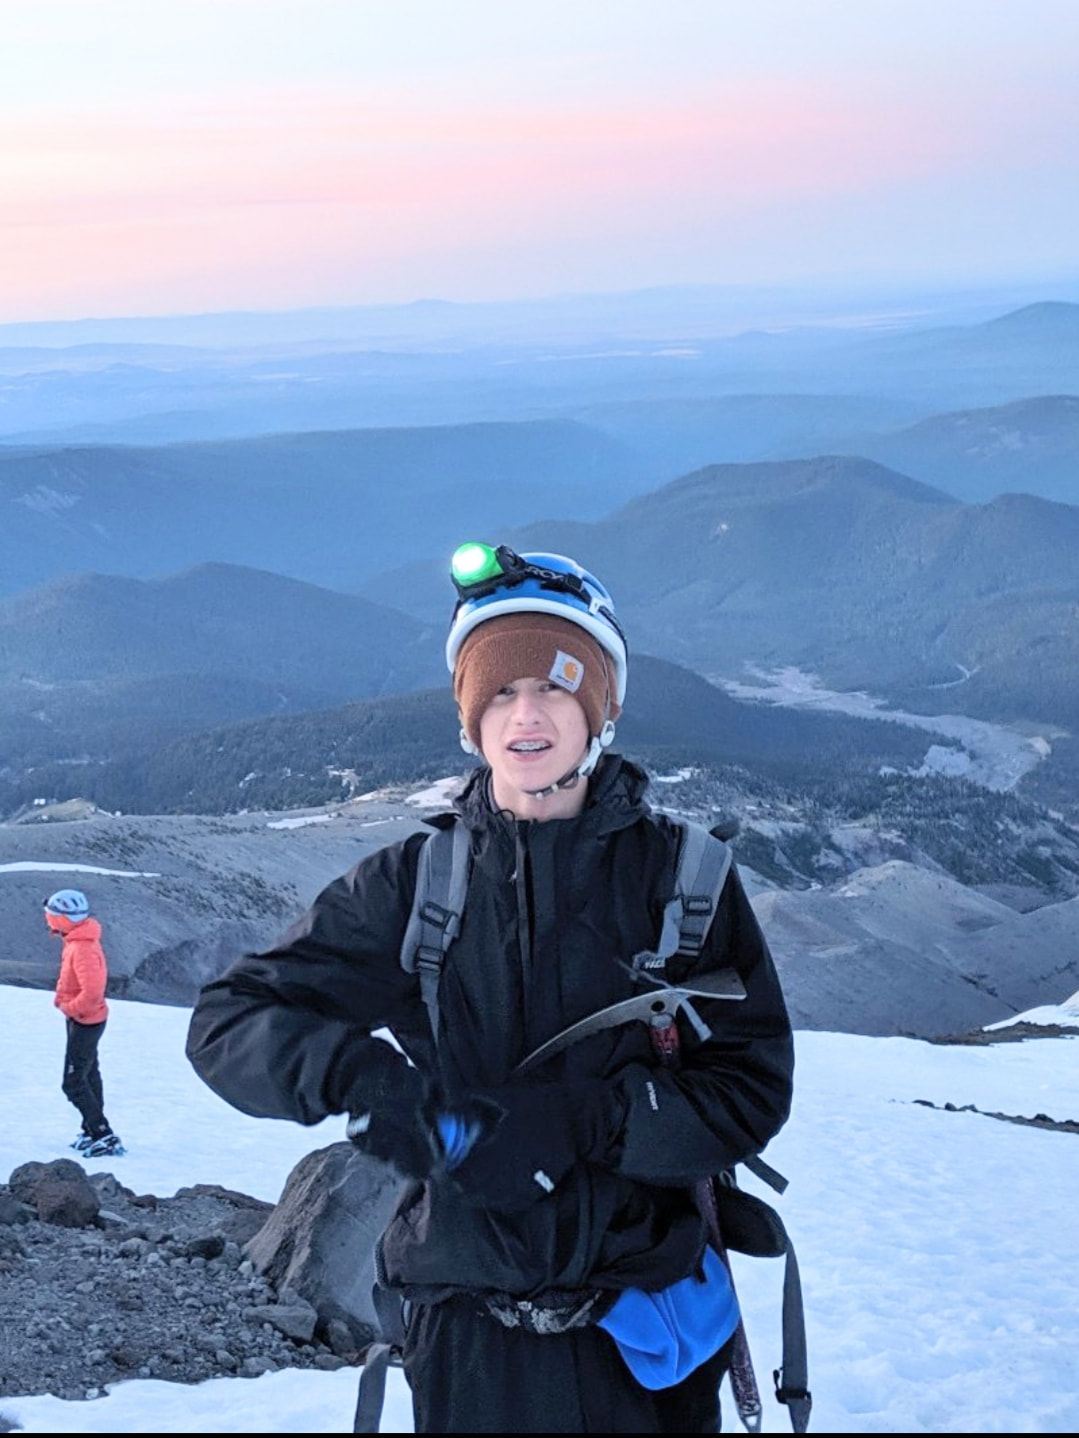
Before #3

After #3
Step one. Add smoothing to get rid of the graininess
Step two. Add vibrance to the reds and greens, saturate the blue sky
Step three. Darken the shadows and the black point
Step four. Add detailing, and sharpen the black jacket
Step five. Slightly bump up the highlights
Step six. Add texturing to the face in particular, make him look more rugged and blemished
Step seven. Pump up the brightness to make it look more sunny
Before #4
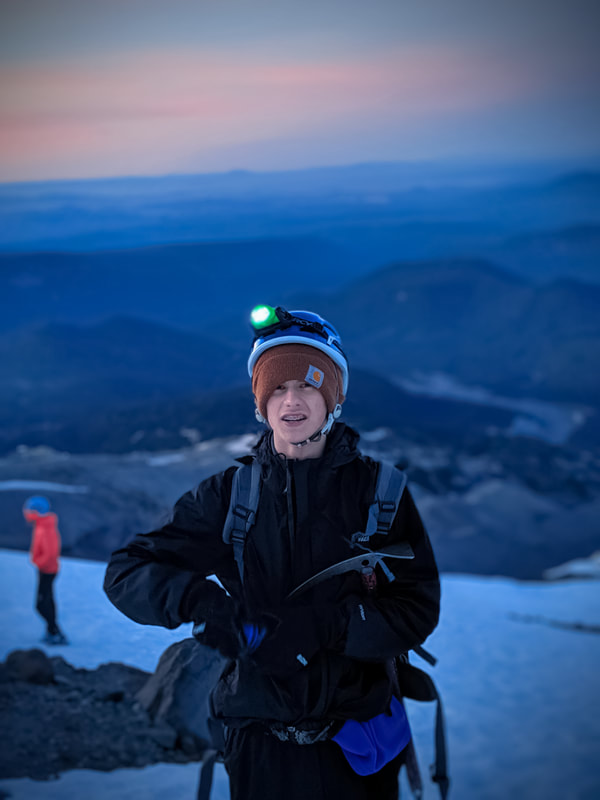
After #4
Step one. Use the blur tool to blur out the background and other people
Step two. Up the contrast
Step three. Lower the exposure and brightness as usual
Step four. Add a light vignette
Step five. Boost the saturation of the imsge, especially the blues in the sky
Step six. Bump up the clarity and sharpness on the subject's face
Step seven. Add deeper shadows and a higher blackpoint to make it more dramatic

Before #5

After #5
Step one. Crop image, and take off the top edge of grass
Step two. Use the cloning tool to remove the pedestrians in the background
Step three. Lower the exposure and decrease brightness to darken the image
Step four. Sharpen the coins, and boost the clarity
Step five. Saturate the green hues and blur the edges
Step six. Apply a soft feathered vignette effect on the corners
Step seven. Turn the image at a slight angle to make the surface seem flatter
